Good pizza dough is rarely the result of one secret ingredient. It is a chain of small decisions: the flour you reach for, the amount of yeast on the tip of the spoon, the ten minutes you wait before adding salt, the way you shape the ball, the patience you give the oven. Miss one link and the pizza still bakes, but it feels heavier, tighter, less alive. Follow the chain and a home oven can turn out dough with a crisp base, an airy rim and a clean wheat flavour. This checklist is the one to keep on the counter, not in a drawer.
1. Choose flour by timeline, not by label
Tipo 00 is not automatically “better” for pizza. It describes how finely the flour is milled, not how strong it is. A fine 00 can be weak and tender, or strong and resilient. The useful question is: how long will this dough ferment? A same-day dough made with a moderate-strength flour can be excellent. A dough that will spend 24 or 48 hours in the fridge needs more strength so it does not collapse before baking.
If the bag gives a W value, use it as a rough guide. For many home-oven pizzas, a flour around W 260–300 is a sensible starting point; longer ferments call for more strength. If there is no W value, look at the protein and, more importantly, at how the dough behaves. Strong flour feels elastic and holds gas well; weak flour slackens quickly. Keep notes on the brand and lot, because flour changes with the wheat harvest.
- Match flour strength to fermentation length. Short rest, moderate flour; long cold ferment, stronger flour.
- Store flour dry and cool. Damp flour smells musty and behaves unpredictably.
- Change one variable at a time. If you switch flour, keep water, yeast and timing the same for one bake.
2. Weigh water and salt, then be stingy with yeast
A home pizza dough usually sits comfortably between 60% and 65% water to flour weight. That is 300–325 g of water for 500 g of flour. Stronger flour can take a little more; soft flour can turn soupy fast. Weigh the water rather than using a jug, and hold back 20–30 g until you see how the flour absorbs it. Salt should be plain and fine enough to dissolve: about 2–2.5% of the flour weight, so 10–12 g for 500 g of flour.
Yeast is where home bakers often overdo it. More yeast makes dough rise quickly, but it also exhausts the flour and leaves less flavour. For a 24-hour room-temperature ferment, 1–2 g of fresh yeast per 500 g of flour is often enough. For a cold ferment of 48 hours, use less, not more. If you use dry yeast, follow the conversion on the packet, and remember that instant dry yeast is usually more concentrated than fresh.
- Use a scale for everything, including salt and yeast.
- Dissolve salt in the water before mixing, or add it after a short autolyse; either way, do not dump it directly onto the yeast.
- Write down the yeast amount and the room temperature. The same recipe rises differently in January and July.
3. Mix to a soft, coherent dough—then stop
You are not looking for a perfect, shiny dough straight away. Mix until no dry flour remains and the dough comes together as a rough, soft mass. Cover it and leave it for 20 minutes. This rest lets the flour hydrate and makes the dough easier to handle without adding extra flour. Then knead or fold until it feels smooth and slightly tacky, not sticky. A stand mixer can do this in a few minutes; by hand, use stretch-and-fold movements in the bowl rather than a long, violent knead.
If the dough clings to your fingers like wet cement, wait five minutes and try again. Flour needs time to absorb water. If it still feels loose, add a tablespoon of flour at most, mix it in, and rest again. The dough should be soft enough to spread under its own weight but strong enough to pull away from the counter cleanly.
4. Rest, then ferment with your eyes as well as the clock
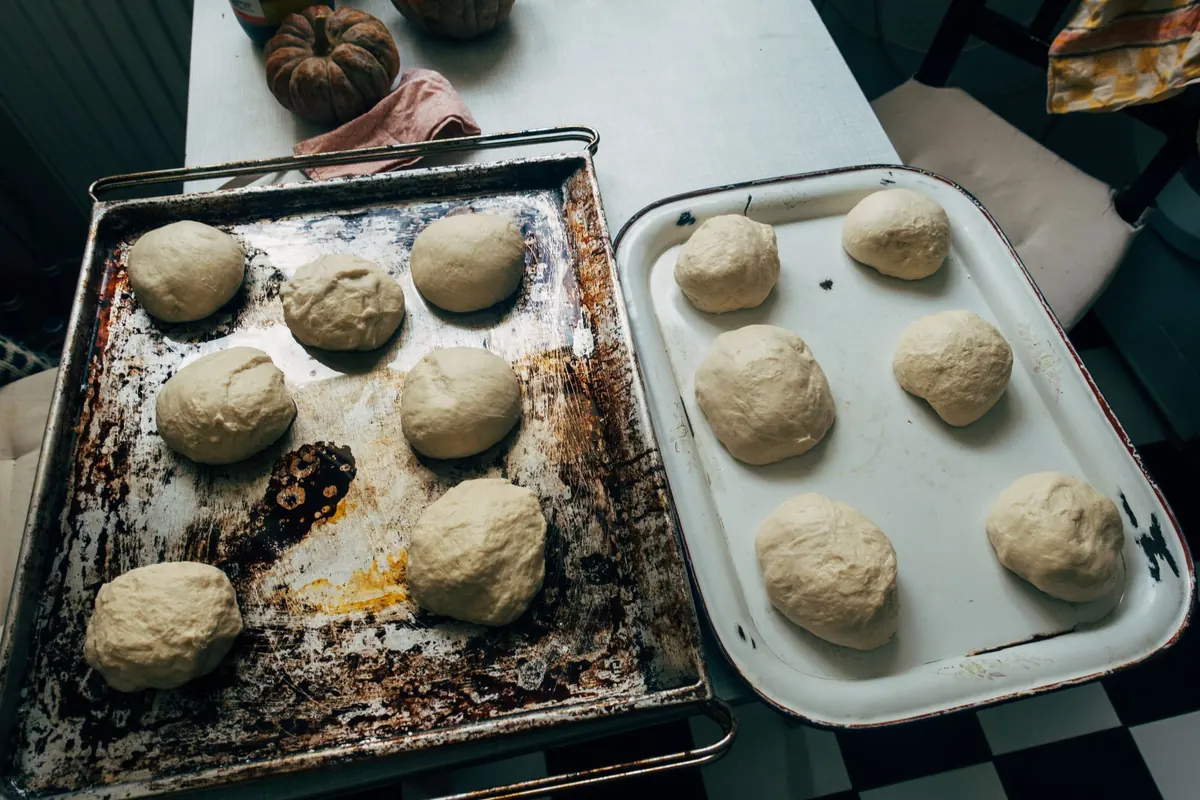
After mixing, give the dough a bulk rest—the puntata—until it looks relaxed and slightly puffy. In a warm kitchen this may take an hour or two; in a cold one, longer. Then divide and shape into balls. Tighten each ball on the counter, place it in a covered tray or container, and let it rest again before stretching. This second rest, the appretto, is what makes the dough easy to open without tearing.
For a cold ferment, put the covered balls in the fridge for 24–48 hours. Take them out an hour or two before baking, depending on room temperature, and let them come back to life. Do not judge fermentation only by time. Look for a dough that has grown, feels airy but still holds shape, and springs back slowly when pressed.
- Cover the dough with a lid or lightly oiled cling film so it does not dry out.
- Keep balls spaced apart so they do not merge into one mass.
- Watch the surface. A few small bubbles are good; a cracked, collapsed top means it has gone too far.
5. Stretch with your hands and protect the rim
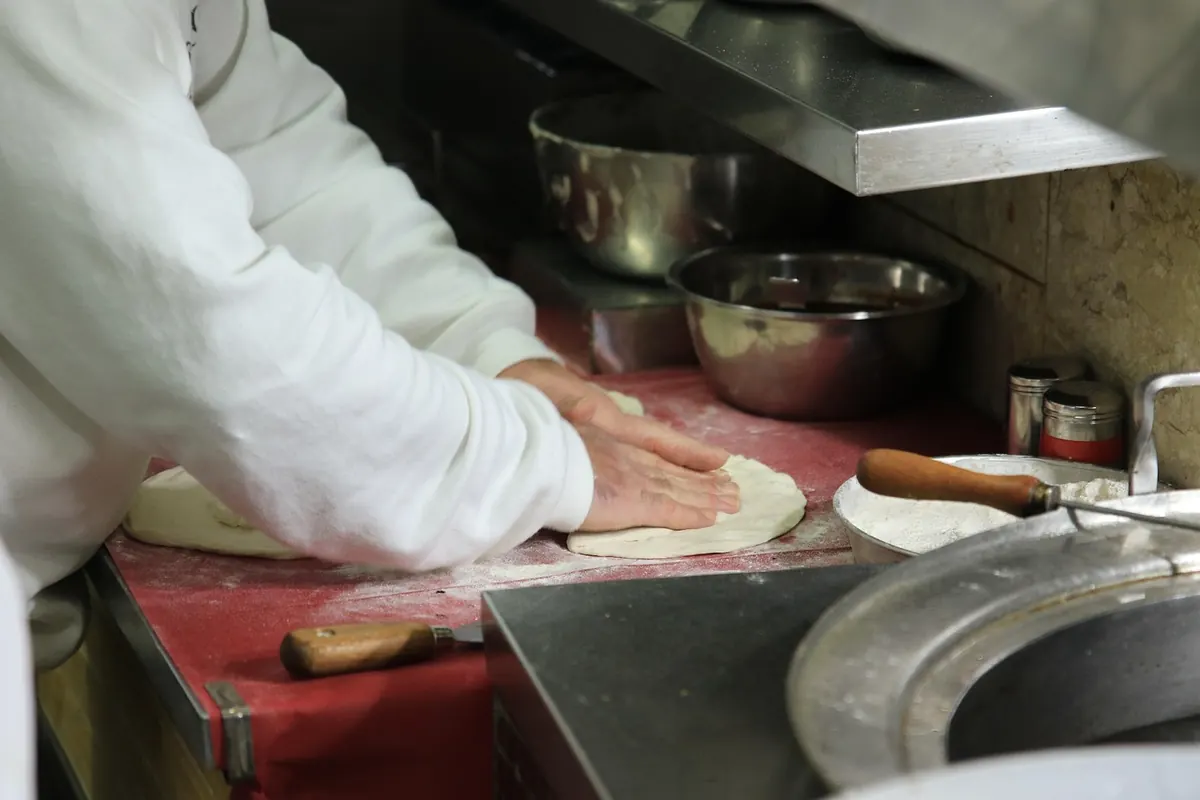
Take one ball at a time and keep the rest covered. Press the centre down on a lightly floured counter, leaving the outer edge untouched. Pick it up, drape it over the back of your hands, and let gravity do some of the work. Turn it gently, moving your hands around the edge. If it fights back, put it down for a minute; the gluten will relax. A rolling pin presses out the gas you worked for, so use it only if you are making a very thin, crisp pizza and you know you prefer that result.
Keep the rim a little thicker than the centre. It does not need to be a wall; a soft, uneven band is enough. If you are baking on a peel, flour the peel lightly with semolina or fine flour and give the dough a small shake before topping. If it sticks, lift the edge and add a little more flour underneath rather than pressing down.
6. Bake hot, fast and with a plan
A home oven is not a wood-fired dome, but it can still make very good pizza. Put a baking steel or stone on a middle-to-upper shelf and preheat the oven at its maximum for at least 45–60 minutes. A stone needs that long to store real heat. If you have a grill or broiler setting, use it at the end for colour, but watch closely. Bake one pizza at a time if the oven is small; two trays at once usually means steam, pale crust and a soggy centre.
Top the pizza quickly and lightly. Too much sauce or wet mozzarella cools the dough and slows the bake. Launch carefully onto the hot surface and let the base set before you check underneath. A good home-oven pizza is often done in 6–10 minutes, depending on the oven and the topping. If the crust colours before the centre is cooked, move the pizza lower; if the base is pale, move it higher or finish on the stove-top in a dry pan.
The final check before the first slice
Before you call the dough finished, run through the quiet details: flour matched to fermentation time, water and salt weighed, yeast kept low, a proper bulk rest, balls that were not flattened too early, and an oven that was hot before the first pizza went in. Keep a small notebook in the kitchen and write down the flour, water percentage, yeast, room temperature and timings. The next dough will be better because of it. Eat the first pizza standing up, if you like; that is part of the process too.
Photo: OrnaW / Pixabay